Showing posts with label Recipes. Show all posts

Tuesday, 2 August 2011

COOKING/BOOK REVIEWS ~ "Amelia Bedelia Bakes Off" ~ With Recipe For Amelia Bedelia's Sheet Cake

I remember laughing and enjoying books about "Amelia Bedelia" when I was a youngster, so we picked up a couple titles featuring this confused housekeeper/maid when we were at the main library last week.  In "Amelia Bedelia Bakes Off" the heroine runs a bakery for a friend.  At the back of the book a recipe for "Amelia Bedelia's Sheet Cake" is provided.  Of course the children wanted to try making the recipe!  It called for just nine simple ingredients (that we already had on hand) -- so we made some cake on Saturday afternoon.

The verdict?  Delicious and super easy.  Probably easier than using a packaged cake mix and an electric mixer.  It definitely tasted better than a mix!  Why so easy?  All the ingredients were dumped directly into a 9 x 13 cake pan and then mixed together with a fork!  Couldn't be simpler!

AMELIA BEDELIA'S SHEET CAKE

3 cups flour
1 3/4 cups sugar
2 teaspoons baking soda
1 teaspoon salt
2/3 cup cocoa
3/4 cup vegetable oil
2 Tablespoons vinegar
1 teaspoon vanilla
2 cups water

Sift the flour, sugar, baking soda, salt and cocoa directly into an ungreased 9" x 13" pan.  Add oil, vinegar, and vanilla.  Pour water over all ingredients.  Mix with a fork until smooth.  Bake at 350 degrees  for 25 to 30 minutes.  Cool the cake and ice it in the pan with your favourite frosting (we used a purchased container of prepared icing).

While we were at the library, we also borrowed "Amelia Bedelia Goes Camping."  The poor woman had never been camping before and "pitched the tent" by throwing the bag with the tent inside into the bushes!  She certainly has a lot to learn. 

According to the list on the back of "Amelia Bedelia Bakes Off," there are 23 different "Amelia Bedelia" adventures.  Two down ... and 21 to go ... that's some serious reading still to do!

... Dry ingredients ...

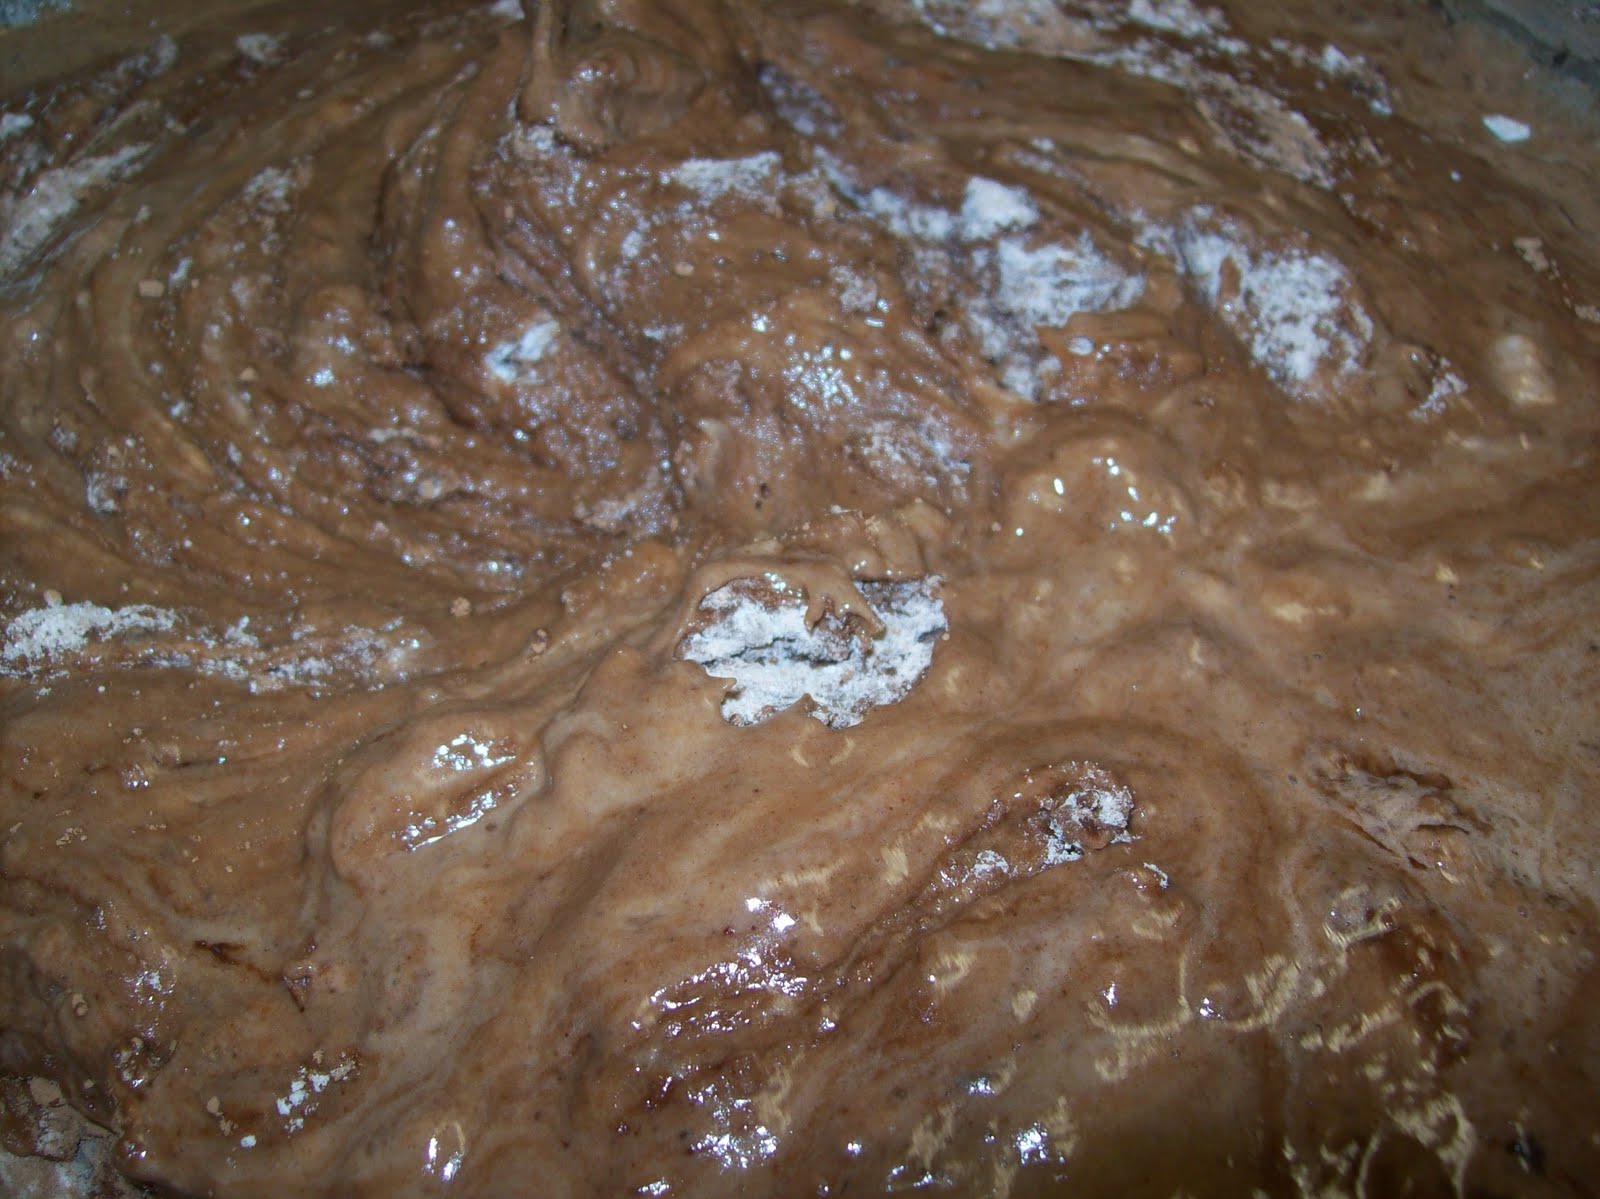
... Adding liquid ingredients ...

... Stir! ...

.... Ready for the oven...

... Baked and cooling ...

... Iced and ready to slice...

... Delicious! ...

Wednesday, 22 June 2011

COOKING ~ Recipe for Raspberry Jell-O Salad

Raspberry Salad
No ~ we haven't actually made this "Pink Salad" (as Isobel called it) for ourselves yet, but I didn't want to lose the recipe, so I thought I'd post it here, as promised, for others to enjoy. Isobel ate two helpings of this dish at the Lloydminster Homeschool Association's wind-up BBQ and asked for the recipe on her own!

So, on a hot summer day, when the raspberries are in season, you can whip up a bowl of this pink treat.

Raspberry Salad

Serves: 4-6 (very generously)
Prep. Time: 30-35min. (not including chill time)

Ingredients:

3 oz. Raspberry Jell-O (smallest package that serves 4)
2 c. Whipping cream (whipped--that's 1c. of plain cream)
¾ c. Boiling water
½ c. Sugar
1-2 c. Raspberries, fresh or frozen (thawed, if using frozen it is recommended to use the fresh, frozen ones, NOT the ones frozen in syrup)
1 c. Mini marshmallows

Directions:

Dissolve Jell-O with water and sugar (It will want to stick to the dish, so you need to scrape it away from the dish and keep stirring until it is ALL dissolved--about 5-8 minutes!!!)

Let chill until syrupy (about 15 minutes).

Put whipped cream in a medium bowl; add Jell-O.
Fold whipping cream into Jell-O.
Add raspberries and marshmallows.
Fold in raspberries and marshmallows.
Chill thoroughly (Preferably overnight, but can do 4-5 hours).
Before you serve it, gently mix it up so it doesn't look smooth.

TIP: Make a double batch because people LOVE it!

* Thanks to the Krenz family for the link to this recipe and the photograph of the finished product.

Wednesday, 1 June 2011

COOKING ~ "Give Us This Day Our Daily Bread" ~ Auntie Sharon's Recipe

A loaf that has been sliced ...
I hadn't made bread for several years but recently John urged me to make a batch or two!  It is considerably cheaper to make your own.  I just didn't have much confidence it would turn out.

I called my Mother and she gave me her sister Sharon's recipe, from our old 'Family Cookbook' compiled back in the late Eighties, while I was in university.  I scribbled the amounts and basic directions on a scrap of paper.

Auntie Sharon's Bread
Ingredients:

2 cups milk
6 Tablespoons sugar (or a little less honey)
4 teaspoons salt
1/2 c. margarine (or a bit less). You can also use vegetable oil.
3 cups water
2 Tablespoons vinegar (optional)
Flour (I guess you'll have to go by the feel of it.)
2 Tablespoons yeast


Directions:

Scald milk.  Remove from heat and add sugar, salt, and margarine.  Stir.
Then add the water and vinegar.
Add 2-3 cups flour combined with the yeast & beat it.
Add more flour, beating after each cup or two.
When batter is pretty thick to stir, turn out onto bed of flour on the counter. (maybe 1 1/2 - 2 cups)
Knead for about 8 minutes.
Put in greased bowl and let rise. Punch. Let rise again.
Shape into loaves and put in pans. (It makes 4 or 5)
Let rise 1-1 1/2 hours.
Bake 30 minutes at 350 or 375 (until brown on the bottom.)

Preparation Time:  About 4 hours.


I wasn't sure about this new venture, but I made a quick trip to the local store to buy a package of fresh yeast.  Then I called Alisdair to come and observe the process.

Here are some pictures of that first batch:

Scalded milk ...
Mixture of honey, milk  and yeast ...

Starting to mix in flour...

Stiff dough... ready to knead
  

Oiled dough ... ready to rise...
Dough is beginning to rise...
In the pans...waiting for last rise...
 
Freshly baked...
I still wasn't totally convinced it was going to work, so I was delighted to see the dough was rising! Eventually I had four nice loaves out of the oven and cooling.

A few minutes later, I went back and almost half of a loaf was GONE!  Someone had wanted to try the fresh bread!  Later, I went to cut a slice.  John complained that I was slicing it much too thin and said, "What's the point of having fresh bread if you're going to cut it like that??"  We froze some and ate some.  The bread quickly disappeared.  I made another batch.  Again, it disappeared quickly ~ even sending a loaf or two to Alisdair's Grandma and Grandpa for a taste test! 

One day Alisdair was eating a peanut butter and jam sandwich, made with thick, fresh bread.  "You've got to QUIT making this bread, Mum," he said.  When I asked why, he replied, "Because you are spoiling us too much!"

As I made each batch, I began to feel a "kinship" with the pioneer woman who had gone before me.  Women like my own Grandmother, who made several batches of bread each week, out of necessity, just to feed her large family on a tight budget.  I remembered Grandma's fluffy white bread and slathering it with peanut butter, jam or Cheese Whiz.  There was always a problem trying to toast her homemade bread, as it wouldn't fit in the slots of the toaster.  As a solution, they had a little wire rack (like you would use when camping) and toasted the jumbo slices of bread over the burner of her electric stove!  Later, I tracked down my Grandma's actual recipe ~ but that's a post for another day!

***

"Give us this day our daily bread"
                                                                              ~ Matthew 6:11

Wednesday, 18 May 2011

COOKING ~ "Blue's Banana Muffins"


Isobel borrowed a book from the school library called "Blue Makes Breakfast."  On the last page there is a recipe for "Blue's Banana Muffins."  Isobel wants to make them.  Maybe you'll want to mix up a batch for your breakfast, too!

BLUE'S BANANA MUFFINS

3 large bananas
1-1/2 cups flour
1 cup brown sugar
1 tsp vanilla
1/2 cup butter
2 eggs
1/4 cup sour cream
1/4 tsp salt
1 tsp baking soda
1-1/2 tsp. baking powder

1.  Preheat oven to 350 degrees.
2. Cream together butter and sugar.
3. Add sour cream, eggs, mashed bananas and vanilla.
4. Mix all dry ingredients and add to mixture.
5. Pour batter into greased muffin tins (or line with muffin cups).
6. Bake for 20 - 30 minutes until muffins are golden brown and spring back to the touch.  Enjoy!

Tuesday, 26 April 2011

COOKING ~ "Aunt Rachel's Scones" from "Great British Cooking: A Well Kept Secret"

Since I am "Mrs. Porter" and not "Mrs. Pottage of Greendale Farm," (see previous post titled, "Postman Pat and the Surprise Breakfast"), Alisdair and I had to find a recipe before we attempted to make Scones.  Once again, inter-library loans provided the answer, in the form of a cookery book titled, "Great British Cooking:  A Well Kept Secret ... Over 200 recipes - from meat pies to plum pudding adapted for American cooks" by Jane Garmey.

I don't know WHO "Aunt Rachel" IS, but here is her recipe for Scones! Garmey says:

"Scones are very easy to make and should be eaten right away as they do not keep well.  (There is nothing in the world more dreary than day-old Scones.)  Traditionally, Scones are served for tea while still warm from the oven, cut in half and spread with butter and lots of strawberry jam.  They are fattening, indigestible and quite glorious.  Makes 8 - 10."

Aunt Rachel's Scones

2 1/4 cups flour
1/4 tsp salt
1/2 tsp baking soda
1 tsp cream of tartar
3 ounces butter
1 heaped Tablespoon honey
Approximately 1/4 cup milk

Preheat oven to 450 degrees F.

Sift the flour, salt, baking soda and cream of tartar into a mixing bowl.  Rub in the butter with your fingers until the mixture resembles fine breadcrumbs.  Make a well in the center and stir in the honey and enough milk to make a light springy dough, which should be just firm enough to handle.

Turn the dough onto a well-floured board.  Knead very lightly to remove any cracks and roll out to a thickness of 1/4 inch.  Cut into 2-inch rounds with a cookie cutter or a glass.  Place the rounds on a baking sheet that has been greased and floured.

Glaze each scone with a little milk and bake on the top rack of the oven for 7 to 10 minutes or until the scones have risen and are nicely browned.

Our "How To" in Photographs:

Dry ingredients measured in bowl
Blobs of butter on top of dry ingredients
Alisdair rubbed the butter into the dry ingredients and when he was done, (it took a little while), we forgot to take a photograph of the resulting granular mixture.  We didn't get a picture of the stage where we added the honey and milk, either. (I had to add a fair bit more milk than the recipe called for, in order to make a pliable dough).

Ball of prepared dough
Ready to roll out on a floured surface
Rolled dough ... ready to cut scones out
Alisdair cutting scones out with a pint jar
Some scones are cut, some left to finish
A scone... ready for the oven
Six scones ... ready for baking
The last blob of dough...
A plate of baked scones... (we baked two pans separately)
A plain sliced scone 
Delicious finished product ...
 with butter and strawberry jam
In our excitement, to get the scones in the oven, we forgot to glaze them with milk! 

Alisdair was so funny... as he took the first bite of our finished scones he said, "I am biting into England!"  I couldn't help but laugh at my British wannabe lad!

The scones WERE delicious but I kept thinking there should be an easier recipe (or at least one that made more scones at one time).  We each had a little taste and they were all gone!  Thanks to Mrs. Pottage and Postman Pat for the inspiration for another "Kitchen adventure"/Home Economics lesson!

Who knows what we'll try to cook next . . . . Alisdair is already eyeing a few more British recipes from Garmey's collection.  Perhaps we'll try another in honour of the Royal Wedding, later this week!

Wednesday, 16 March 2011

COOKING ~ Mushroom Pie ~ (Inspired by the book "Postman Pat and the Frog Pie Dinner")

The finished MUSHROOM PIE
I've never eaten a Mushroom Pie before.  Oh, I've had sliced mushrooms as an ingredient in a quiche or a meat pie ~ but never the main ingredient of the filling.

And then we borrowed "Postman Pat and the Frog Pie Dinner" from inter-library loans (See separate "Book Review" post).

In the book, Pat's wife cooks a Mushroom Pie but they pretend it is a Frog Pie.  While the family are "in on the joke", their guest Peter Fogg is too scared to eat his serving.  That is, until he is told that it ISN'T Frog Pie.  "I love Mushroom Pie!," Peter excitedly exclaims.

There lies the inspiration for our latest cooking project.  Alisdair and I both wondered what a Mushroom Pie might taste like, so we decided to attempt to make one!

Unfortunately the picture book does not provide Pat's wife's recipe.  We don't know exactly what was in HER pie, but we finally found a recipe on the internet.  There were many to choose from -- some were vegan or vegetarian.  Others looked more like a quiche, in that they only had a bottom crust.

The recipe we eventually made was found at this website.  For ease of preparation we didn't make the crust recipe (as directed).  Instead, we used a purchased pie crust bottom and another packaged pastry dough for the top crust.  We have enough pastry leftover, in the freezer, to make another creation!

Frozen Crust
Washed mushrooms ~ ready to slice
Filling:

2 1/2 cups chopped onions
3 tablespoons butter
8 cups chopped mushrooms
1 teaspoon dried thyme
1/2 teaspoon salt
Lots of fresh ground black pepper
8 ounces cream cheese

Directions:

Saute the onions in butter in a large skillet. When the onions are soft and translucent, add the mushrooms and thyme and saute for a few more minutes, until the mushrooms release their juices. Add the seasonings.

Onions, Mushrooms, Thyme, Salt and Pepper
Cut the cream cheese into small pieces and stir it into the mushrooms until it melts.
 
Bits of cream cheese

Cream cheese begins to melt into mushrooms.

Cream cheese first added to mushroom and onion mixture
Remove from the heat.  Fill pie crust with the mushroom mixture.

Empty prepared pie crust

Mushroom filling in unbaked crust.
Roll out the remaining dough about 1/4 inch thick (Thicker than normal pie crust) and cut into strips 1 inch wide.  Weave the strips into a lattice over the filling. Fold the ends of the lattice strips under the bottom crust, pinch the edges together, and flute.

Lattice in place and ready to bake in the oven.
Bake the pie for 25-35 minutes, until the crust is puffy and golden. (The recipe called for an egg and milk glaze but we were out of eggs, so we omitted that step.)

Care for a slice ... or two???
It was very rich and although we ate every last morsel, Alisdair and I both thought we wouldn't make it again unless we made some changes to the recipe.  It seemed like we would have liked it better if there was some ground beef added to the mushroom mixture as even one whole piece was too much to finish at one time.  It would probably have been better served with a salad or other side dishes instead of as a main meal in itself.

At any rate, we can now say we've made a mushroom pie!  Thanks, Postman Pat and friends for the inspiration!

Saturday, 5 March 2011

COOKING ~ Easy Cheesy Mac & Cheese

Photograph of this dish from the Kraft recipe website.

Alisdair hadn't had any "Home Economics" lessons for a while, so last night we decided he could learn how to make macaroni and cheese.  Usually we just cook a box of some kind of Kraft Dinner (often no-name or store brand) but the home baked variety is so much better!

We used the recipe printed on the back of the Kraft shredded cheese package (we don't usually buy it pre-grated, but it was on sale).

Easy Cheesy Mac & Cheese

2 cups elbow macaroni, uncooked
1 onion, chopped
2 Tbsp. butter
2 Tbsp. flour
2-1/2 cups milk
3 cups Kraft Mozza-Cheddar Shredded Cheese, divided

PREHEAT oven to 350°F. Cook macaroni as directed on package. Meanwhile, cook onions in butter in large saucepan on medium heat 3 min. or until tender, stirring occasionally. Add flour; cook and stir 1 min. Add milk; cook 5 min., stirring constantly. Reduce heat to low; simmer 10 min. Remove from heat. Stir in 2 cups of the cheese.

DRAIN macaroni. Add to cheese sauce; toss to coat. Spoon into greased casserole dish; sprinkle with remaining 1 cup cheese.

BAKE 20 min. or until heated through.

We started with a bag of shredded "Mozza-Cheddar."
The recipe called for "elbow macaroni" but we used
"Rotini" as we had some in the cupboard and the spirals are kind of fun!
When the pasta was cooked, we drained it and set
 it aside.  Meanwhile, we made the cheese sauce.

Alisdair sauteed the onions in margarine.

Flour added to the onion mixture.
After the milk was added, Alisdair stirred
 the mixture constantly for some time.

Adding shredded cheese to the onion,
 butter, flour and milk mixture.

Stirring in the cheese until it melted.
  You can see we also added ground pepper
and salt (even though the recipe didn't call for it.)

Sauce and pasta mixed together and placed in a greased casserole dish.

Adding shredded "Mozza-Cheddar" to the top
 of the pasta & cheese mixture.  We also sprinkled
on some crumbled "Ripple Chips" before baking it.
All done and ready to eat.  Melted cheese that pulled into little strings when dished out!
Chef Alisdair's verdict ~ a five star rating!  He also enjoyed the microwaved leftovers for his lunch today.  We'll definitely be making this recipe again.